
 EN
Blog
Bambu Lab Printers
Compare Bambu Lab printers by build volume, materials, and multicolor options. Learn about the A1, P1S, and X1 series, print settings, calibration, and filament care.
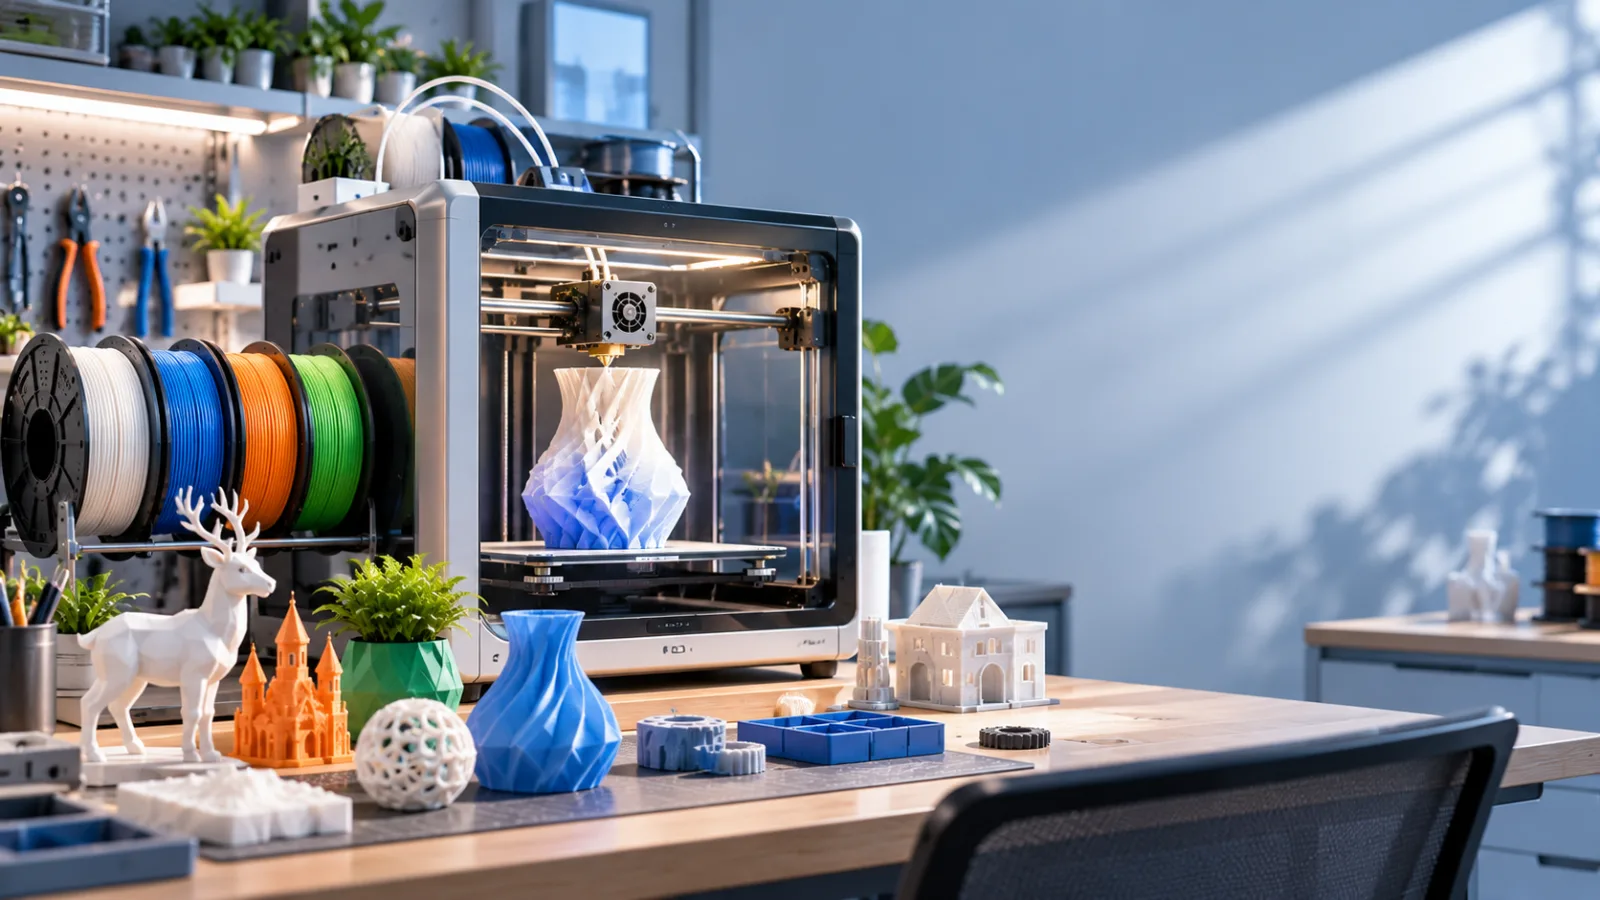
Bambu Lab printers have attracted attention for their fast print speeds, automated calibration, and well-developed software ecosystem. When choosing one, focus less on advertised speed and more on the build volume you need, the materials you use most often, and whether you want multicolor printing.
1. Where Bambu Lab Printers Fit and What Sets Them Apart
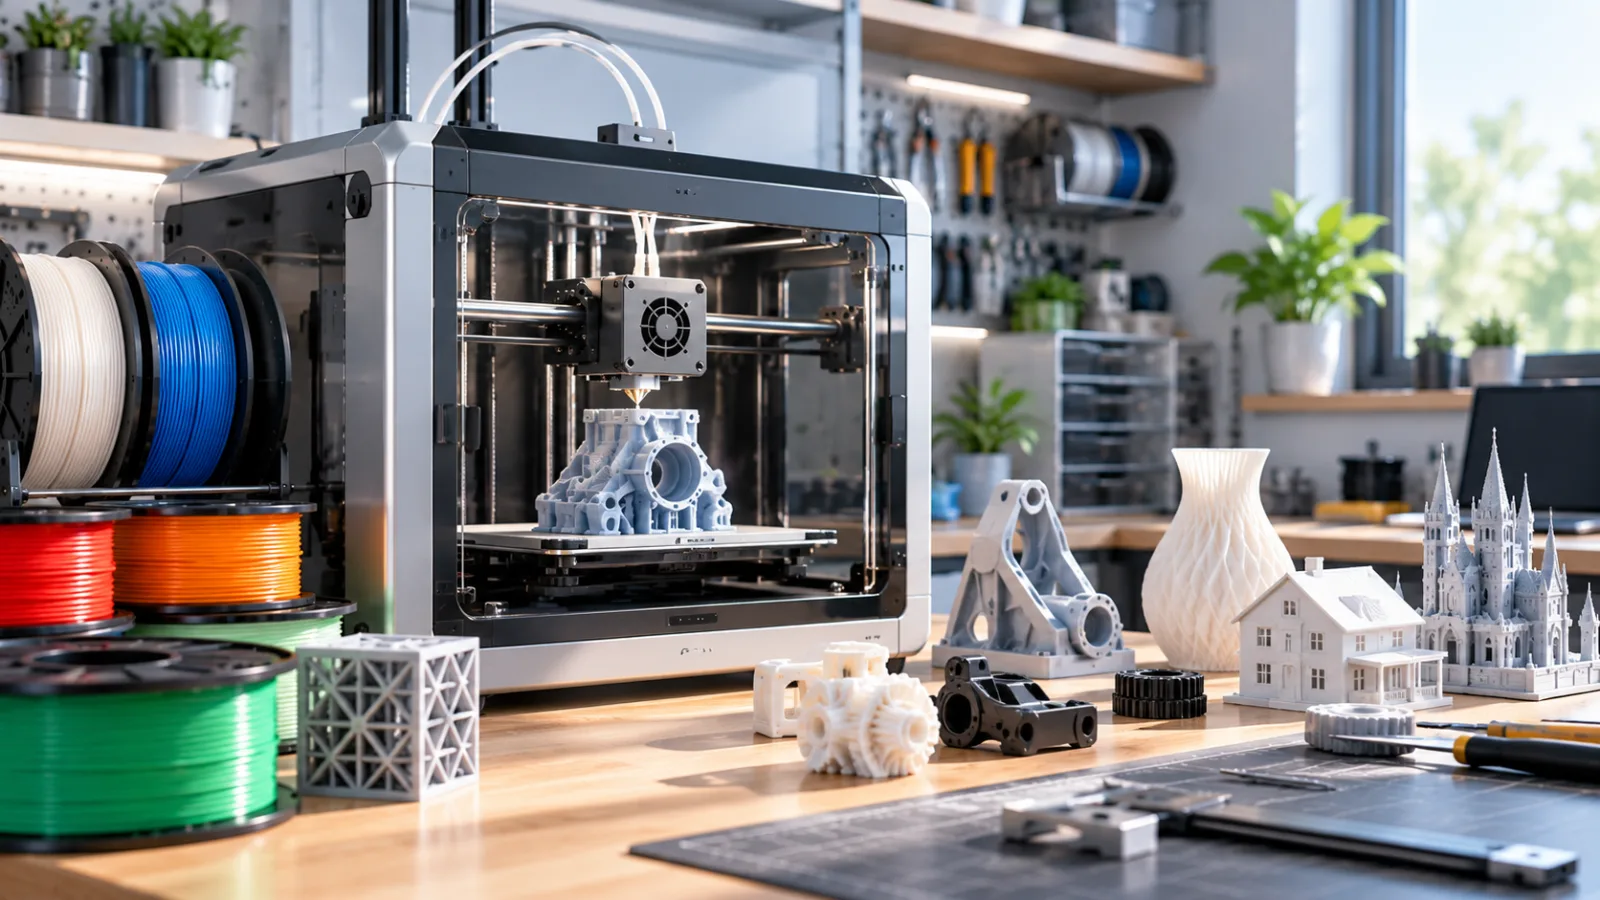
Bambu Lab’s desktop models serve a range of needs, from beginner projects and everyday prototyping to printing with more demanding materials. Their workflow relies on the printer, slicer, and filament-feeding equipment working together. You can start with preset profiles, slice and calibrate your model, print it, then refine the settings based on the result.
Automation does not mean maintenance-free printing, though. A clean build plate, dry filament, a nozzle in good condition, and proper model placement still have a direct impact on print quality.
2. Main Models and How to Choose
Beginners may want to look at the A1 mini and A1. Both suit common models and household items; build volume is a key difference to consider. If you want an enclosed printer and plan to use more engineering-grade materials, consider the P1S. For additional monitoring features and more advanced hardware, explore the X1 series.
Start with three questions: How large is the biggest object you want to print? Which material will you use most? Do you need multicolor printing? If you mainly print small PLA models, you may not need a higher-end machine.
3. Motion Systems and High-Speed Printing
The A1 series uses a different motion system from the P1 and X1 series. The P1 and X1 models use a CoreXY design: the print head moves horizontally, while the build plate primarily moves vertically. High-speed printing also depends on vibration compensation, flow control, and well-matched slicer settings—not just faster movement.
Higher speeds place greater demands on model geometry, cooling, and filament delivery. Overhangs, tiny details, and appearance-focused parts often benefit from slower settings that better balance accuracy and surface finish.
4. Nozzles, Hotends, and Extrusion
Nozzle diameter affects both detail and material flow. Smaller nozzles work well for fine details, while larger ones are better suited to quickly printing thicker, sturdier parts. For everyday use, start with your printer’s standard setup and change it when a project calls for it.
Before printing abrasive filaments, such as carbon-fiber-filled materials, check whether your model’s nozzle and extruder components are sufficiently wear-resistant. If you encounter under-extrusion, stringing, or clogs, check not only the nozzle but also filament moisture, temperature settings, and the filament path.
5. Automatic Bed Leveling and Pre-Print Calibration
Automatic bed leveling helps the printer account for the build plate’s position, but it cannot replace good first-layer preparation. Before printing, make sure the plate is installed correctly and free of oils, and select the right plate type and filament preset.
After changing a nozzle, moving the printer, or noticing first-layer adhesion problems, rerun the relevant calibrations supported by your model. Available calibration options vary, so follow the settings provided by your printer and software.
6. Slicer Software and Print Settings
In the slicer, first select the correct printer, nozzle, build plate, and filament profiles. Then adjust layer height, infill, supports, and wall count. A finer layer height can improve the appearance of display models; for load-bearing parts, pay closer attention to print orientation, wall count, and material properties.
Avoid changing too many settings at once. Adjust one or two at a time and record the results. That makes it easier to tell whether an issue comes from temperature, speed, cooling, or the model’s design.
7. Multicolor Printing and Automatic Filament Feeding
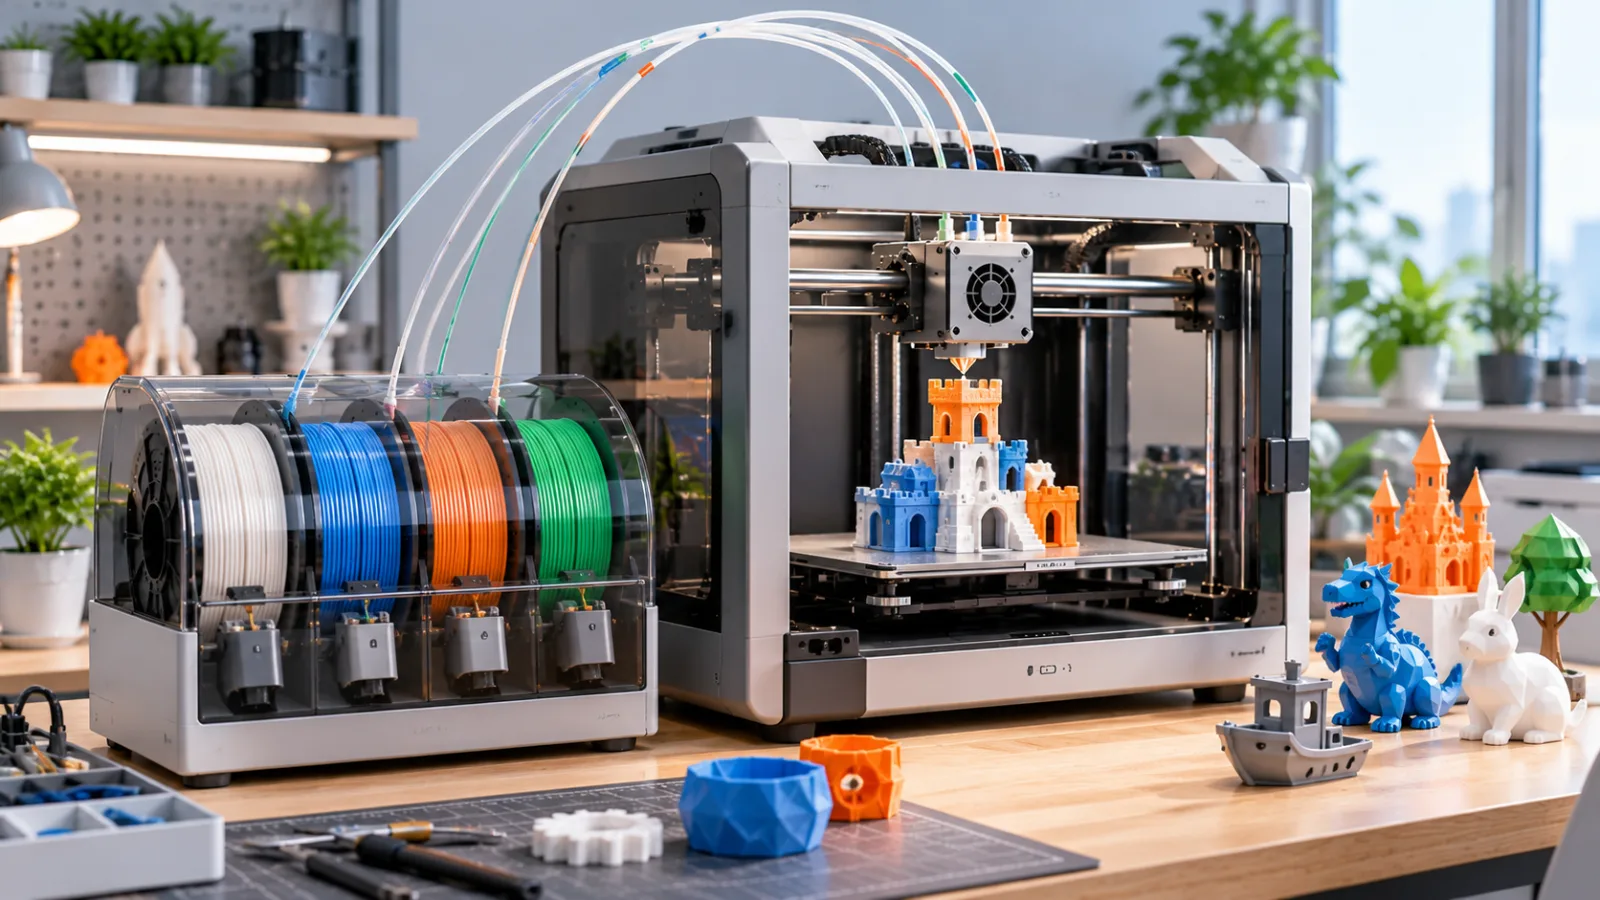
Multicolor printing reduces manual filament changes, but it generally increases print time and material use. When designing a model, avoid unnecessary color changes and group areas of the same color where practical to help control costs.
Automatic feeding systems differ in model compatibility. For example, the A1 series uses a different setup from the P1 and X1 series, so check the compatibility list before buying. Flexible and other specialty filaments may also be unsuitable for automatic feeding; follow the instructions for your equipment.
8. Choosing and Using Common Filaments
PLA is beginner-friendly and works well for display models and general indoor items. PETG offers good toughness for some functional parts. TPU can be used for flexible parts, but filament feeding and speed settings need extra attention. Materials such as ABS and ASA have more demanding temperature and ventilation requirements and are best used with an appropriate enclosed printer and suitable safety precautions.
Whatever filament you choose, first confirm that your printer supports it. Moist filament can cause bubbles, stringing, and rough surfaces. If adjusting settings makes little difference, checking how the filament has been stored and whether it needs drying is often more useful than increasing print speed.