
 EN
Blog
3D Printing Is Taking the Kids’ Toy Niche by Storm
Explore how 3D-printed kids’ toys serve niche markets through personalization, educational play, and small-batch production, plus key safety considerations.
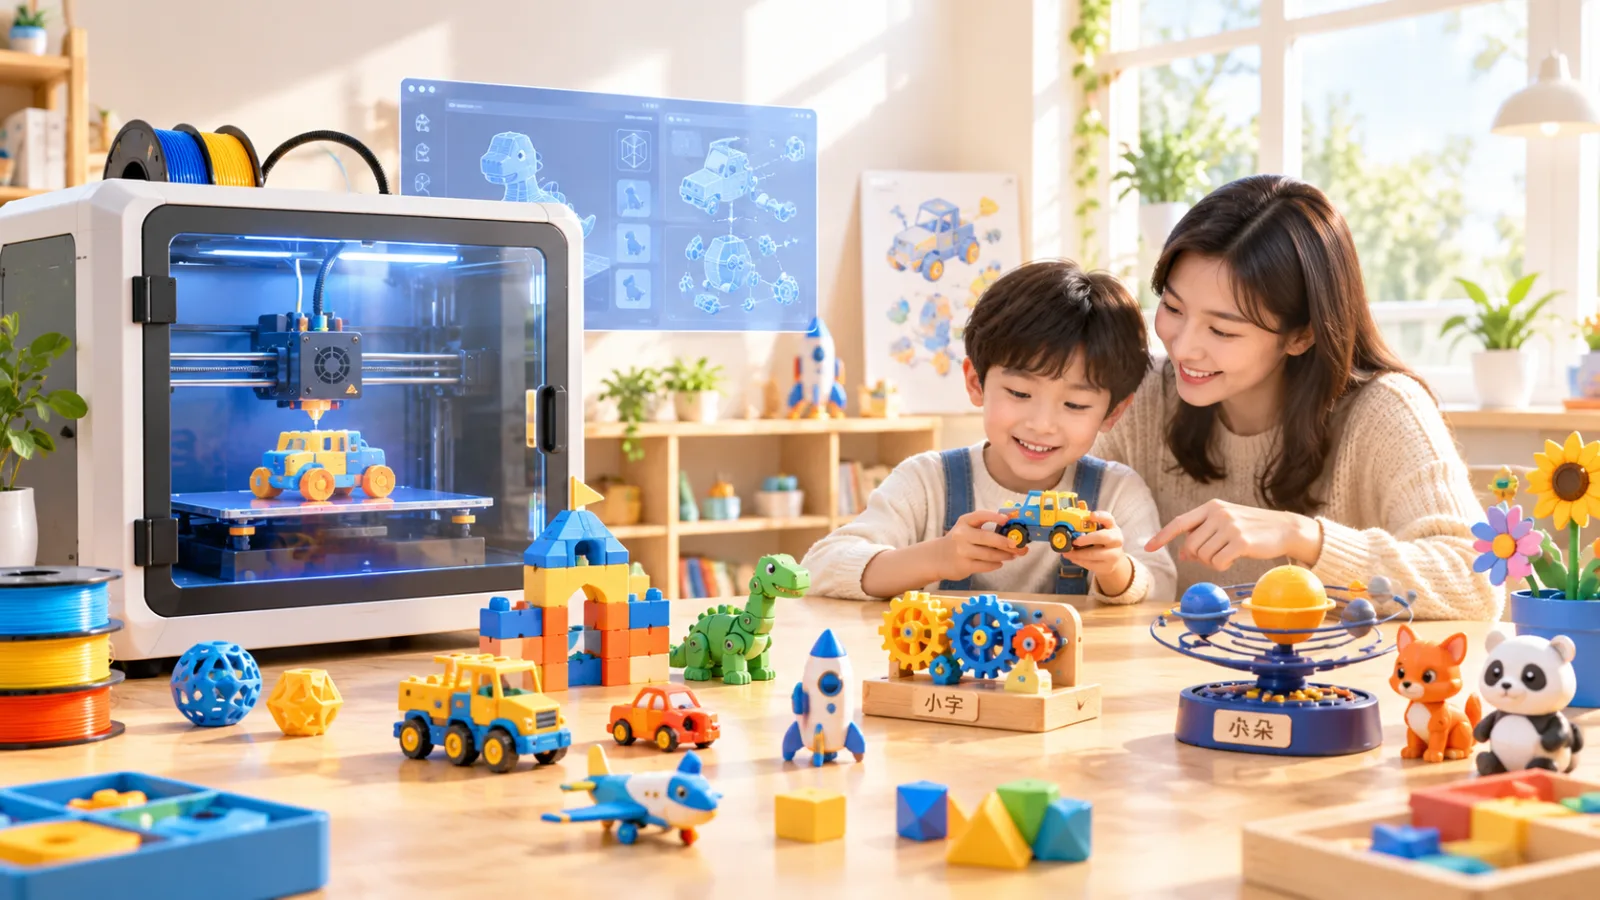
3D-Printed Kids’ Toys Are Taking Niche Markets by Storm
Why 3D-Printed Kids’ Toys Are Booming in Niche Markets: From Personalization to Small-Batch Businesses
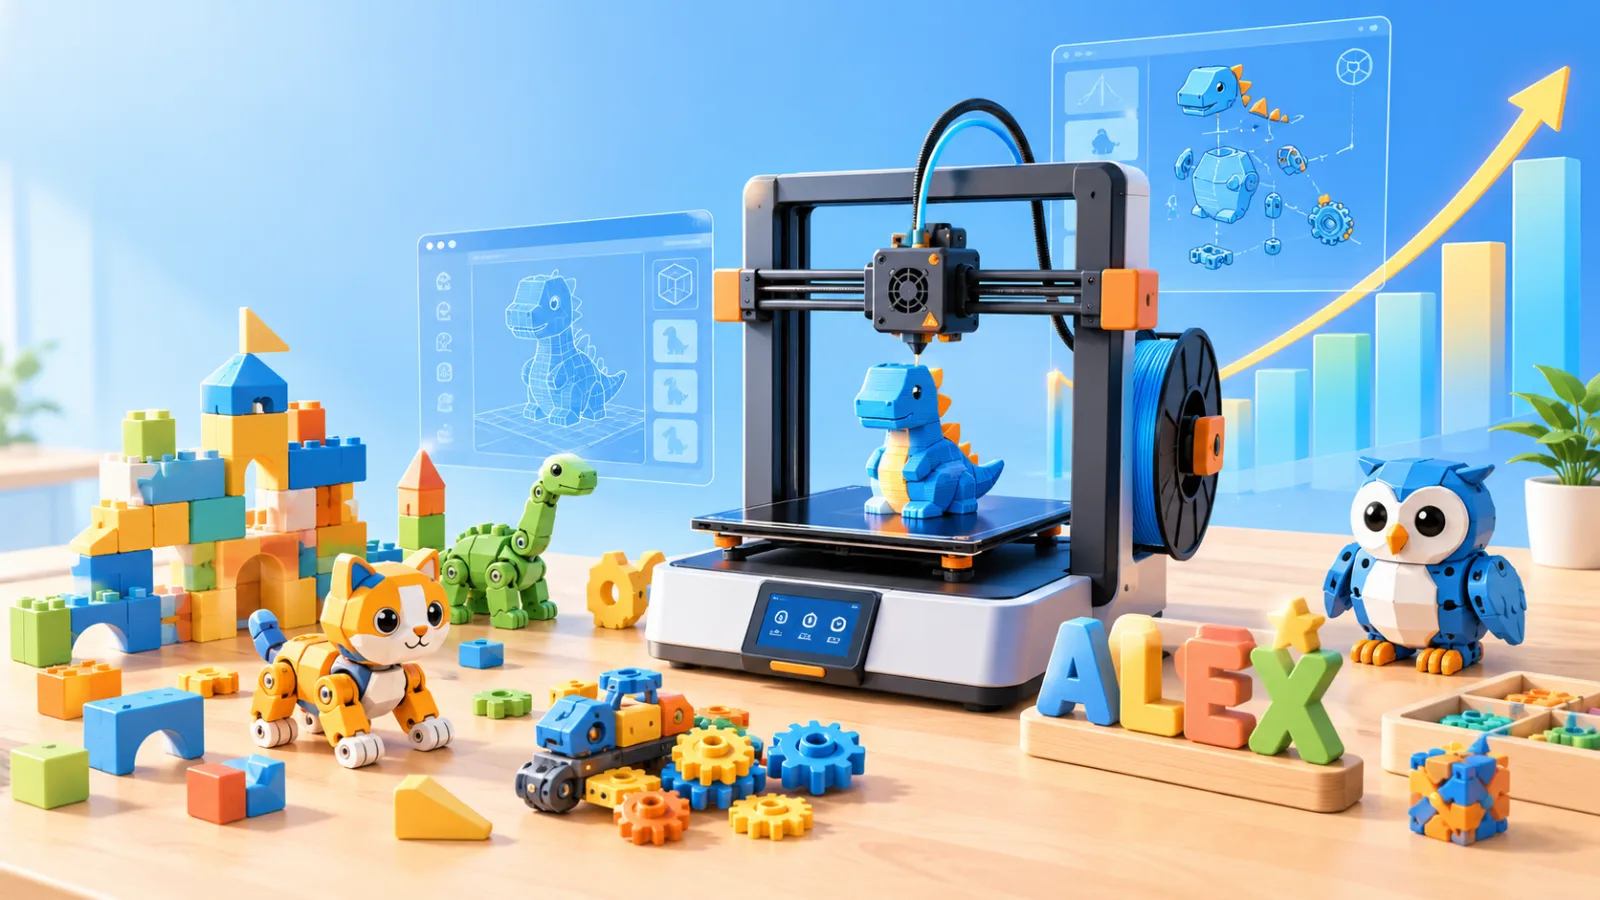
A custom dinosaur skeleton puzzle for a dinosaur-loving child, a little monster from a child’s drawing turned into a 3D figure, or ten sets of gears for a science lesson—these small orders with highly specific requirements are exactly where 3D printing shines.
“Taking niche markets by storm” describes its appeal in certain applications, not a wholesale replacement of traditional toy manufacturing. What 3D printing really changes is how quickly a personalized toy can go from idea to physical object.
Traditional manufacturing often involves tooling, minimum order quantities, and inventory. With 3D printing, there is usually no need to make a mold first: update the digital model, and you can try a new version. This gives small studios, designers, and educational content creators a chance to test demand with just a few products.
Still, there are several steps between “successfully printed” and “suitable for sale as a children’s toy,” including design validation, quality control, and safety compliance. The opportunity is worth exploring, but the barriers should not be overlooked.
1. Why 3D-Printed Toys Are Gaining Ground: Meeting Personalized Demand, Not Replacing Mass Production
If the goal is to manufacture tens of thousands of identical plastic toys, established injection-molding processes usually offer better costs and efficiency. The strength of 3D printing lies instead in the small orders that conventional mass production is less suited to handling.
For example:
- Low quantities: A classroom activity needs just 20 puzzles, each with a different name.
- Lots of variations: One construction toy needs several color schemes, sizes, and difficulty levels.
- Fast iteration: A playtest reveals that a piece is hard to grip, so the next version can be adjusted.
- Specialized needs: A lesson requires terrain, buildings, or mechanical models at a specific scale.
The value is not necessarily in “a piece of plastic.” It may lie in participation, sentimental meaning, or a solution to a particular learning challenge.
But “no tooling required” does not mean “almost no cost.” Beyond materials, each item involves modeling, printing time, failed prints, post-processing, packaging, and after-sales support. For entrepreneurs, the meaningful comparison is the total cost of delivering the product—not simply how much filament it uses.
A more measured way to start is to develop a few samples around one clearly defined need, gather feedback, and then expand, rather than launching dozens of designs at once.
2. Where the Opportunities Are: Science Teaching Aids, Construction Models, and Family Crafts
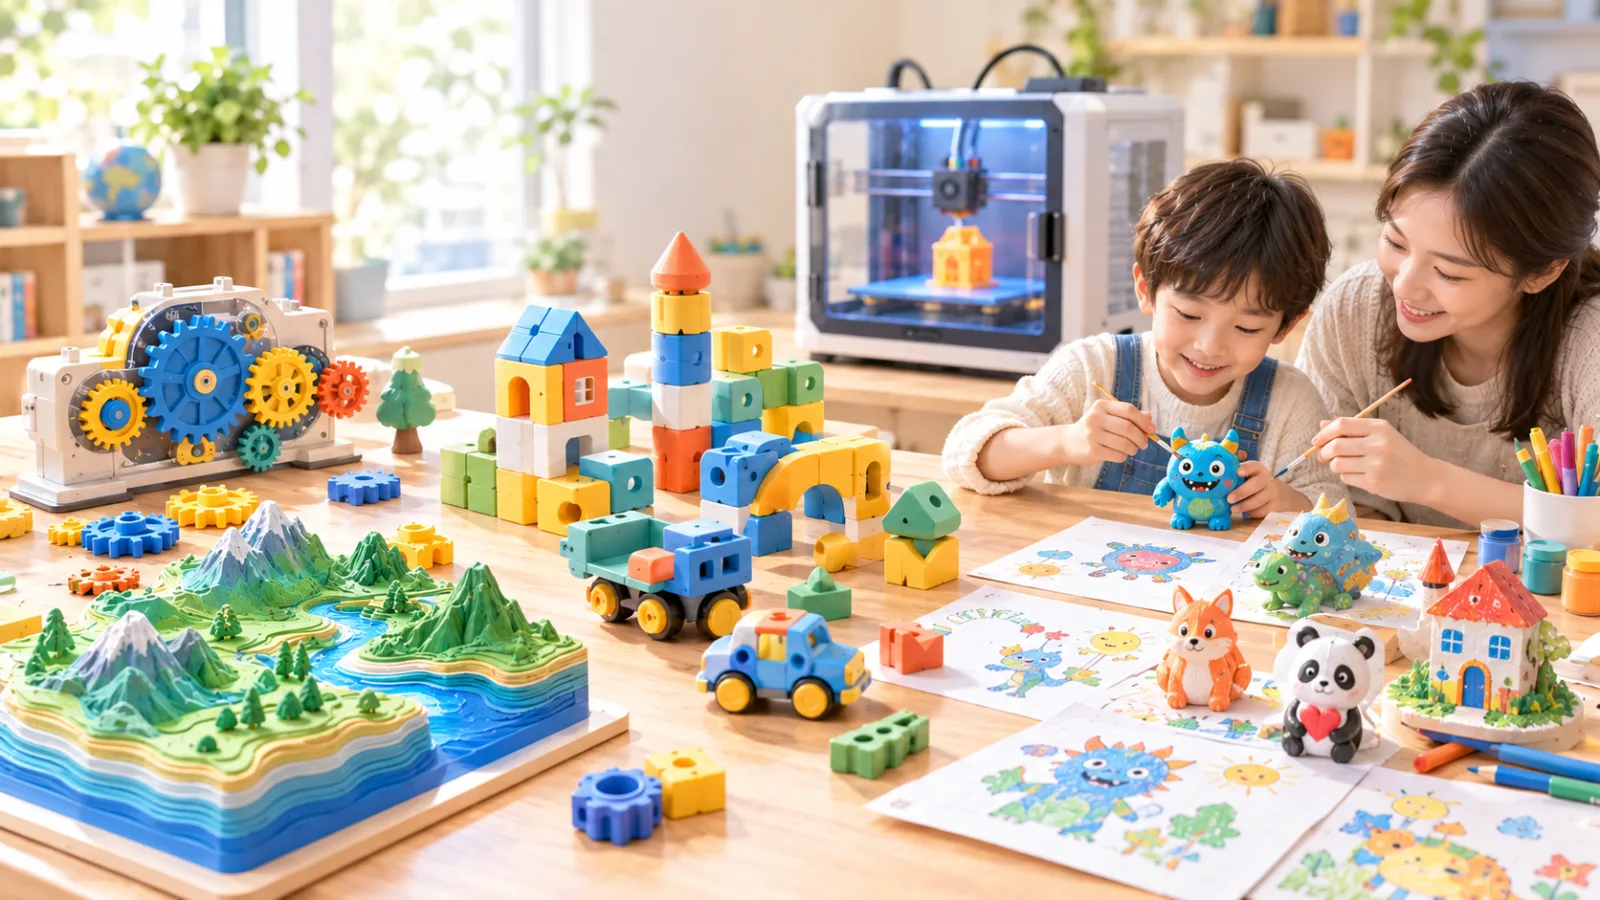
Rather than broadly deciding to “make children’s toys,” first answer three questions: Who will use them, where will they be used, and what problem will they solve?
Science Teaching Aids: Making Abstract Concepts Visible
How do gears transfer motion? What is the difference between a valley and a ridge? Why do different bridge structures support different loads?
3D printing can turn these concepts into models that are easy to examine and manipulate. The advantage is not that they “look high-tech,” but that their size, structure, and presentation can be adapted to teaching goals.
These products work best with activity cards, explanations, and step-by-step instructions. The model helps children see; the activity design helps them understand. Moving mechanisms such as gears and linkages also require attention to pinch points and parts that could come loose.
Construction Models: Challenges That Grow with the Child
Construction toys can offer different levels of challenge by changing the number of modules, connection methods, and spatial complexity. The same theme can become a simple beginner set with large pieces or a more structurally complex version for older children.
The challenge is getting the connections right: too tight, and children cannot assemble the pieces; too loose, and the model falls apart. Print accuracy, material shrinkage, and wear from repeated assembly all need hands-on testing. A model on a screen cannot tell the whole story.
Family Crafts: Letting Children Create, Not Just Receive
Turning a child’s drawing into a 3D object, building a family-themed scene, or designing a tabletop maze together can all offer meaningful interaction.
A sensible division of responsibilities lets children share ideas, choose colors, and take part in age-appropriate assembly, while adults operate the equipment and handle any necessary post-processing. Hot printer nozzles, heated build plates, sanding tools, and uncured resin are not craft supplies children should be free to handle.
3. What Customization Can Offer: Names, Shapes, and Difficulty Levels
Customization is more than adding a name to a model. The most useful options consider appearance, play value, and the overall user experience.
| Customization Area | Possible Approaches | What to Watch For |
|---|---|---|
| Names and graphics | Add names, original emblems, or commemorative dates | Avoid small lettering pieces that could detach, and avoid publicly displaying children’s full personal details |
| Themes and shapes | Design around interests such as animals, vehicles, or space | Use original or properly licensed characters and models |
| Size and grip | Adjust grip areas, bases, and operating components | Do not assume a design is safe simply because it has been scaled up or down |
| Assembly difficulty | Change the number of modules, guidance, and connection structures | Validate against the intended age group and actual abilities |
| Learning activities | Include sorting, observation, counting, or spatial challenges | Make the play experience support learning goals rather than serve only as decoration |
For a small-batch business, fully bespoke designs can quickly make communication and modeling time difficult to control. A more practical approach is a “base design plus limited options”: validate the main structure, then let customers choose names, themes, colors, and a few selected parameters.
This preserves individuality while reducing repetitive work. However, changes to size, structure, or materials may invalidate earlier safety findings, so not every variation can automatically be treated as the same product.
Also, a model available for download is not necessarily licensed for commercial use. Check the license before accepting orders, and consider intellectual property rights when recognizable characters or brand logos are involved.
4. From Idea to Finished Product: Modeling, Slicing, Printing, and Post-Processing
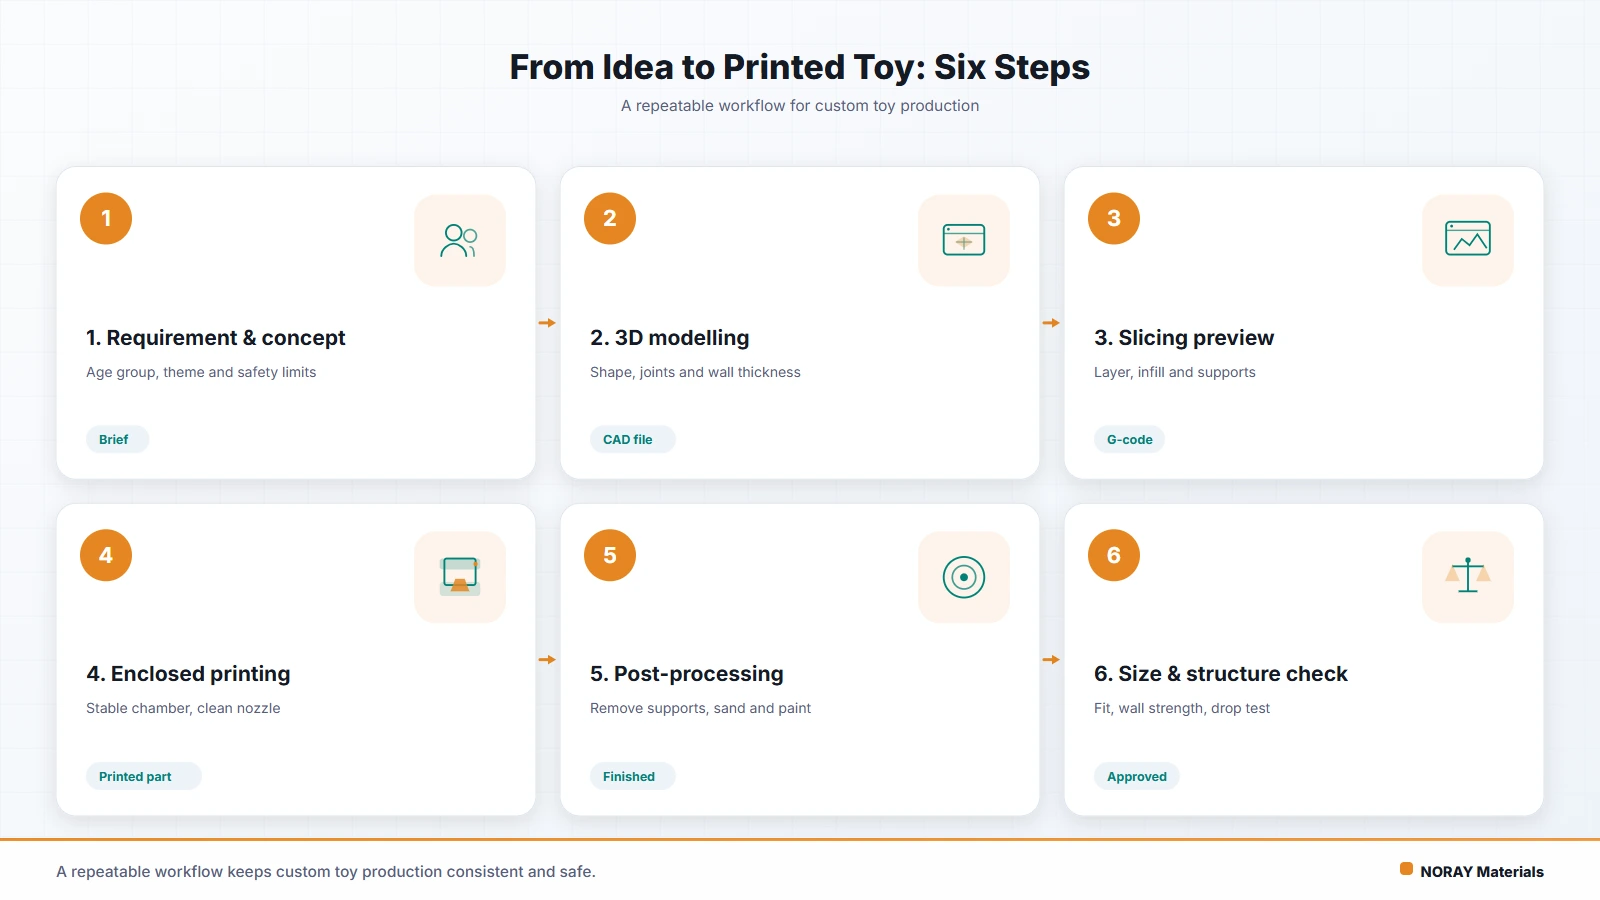
A reliable workflow is not “download a file, click print, and ship it in a bag.” It starts with defining requirements and ends with validating the finished product.
Step 1: Define the Conditions of Use
Start by identifying the intended age group, setting, and way the product will be handled, including whether it will be repeatedly assembled, dropped, or exposed to water. An age rating is not an arbitrary number on the packaging; it affects dimensions, structure, and testing requirements.
Products expected to be mouthed or chewed cannot be designed like ordinary tabletop models.
Step 2: Model the Shape and Engineer the Structure
Consider rounded edges, wall thickness, connection methods, and load direction during modeling. Slender rods, pointed details, and thin sections that look elegant on screen may break easily once printed.
Layer bonding deserves particular attention in load-bearing areas. Changing the print orientation of the same model can significantly affect its actual strength.
Step 3: Slice the Model and Set Print Parameters
Slicing converts a 3D model into layer-by-layer toolpaths the printer can follow. Layer height, wall thickness, infill pattern, temperature, and support settings all influence surface quality, strength, and production time.
Higher infill does not automatically mean a stronger part. Outer walls, connection points, print orientation, and layer adhesion are just as important.
Step 4: Make Test Prints and Inspect Them
Print samples first, focusing on dimensions, fit, visible defects, and areas likely to break. In-house drop tests and repeated assembly checks can help reveal problems, but they do not replace testing to the applicable standards required for sale.
Once the sample is approved, record material batches and process settings so later products do not look identical while performing differently.
Step 5: Post-Process and Validate the Finished Product
After removing supports, smoothing burrs, and clearing debris, check for sharp edges, cracks, and loose components. Any adhesives, paints, or surface coatings must also be included in the safety assessment.
Finally, verify the packaging, labeling, and instructions. A freshly printed object should not automatically be considered a compliant toy.
5. Choosing a Printing Process: Filament Printing vs. Resin Printing
Two common approaches to printing children’s toys are fused deposition modeling and vat photopolymerization, often called filament printing and resin printing. Each has its strengths, but finer detail does not necessarily mean greater suitability for children.
| Comparison | Filament Printing | Resin Printing |
|---|---|---|
| Basic principle | Melts and deposits thermoplastic material layer by layer | Uses light to cure liquid resin layer by layer |
| Surface finish and detail | Layer lines are usually more visible; detail depends on the nozzle and settings | Generally better at fine textures and complex surfaces |
| Potential applications | Larger construction pieces, structural prototypes, and some teaching models | Detailed display models and design-detail validation |
| Main challenges | Layer strength, warping, support marks, and dimensional variation | Washing, complete curing, residue control, and material brittleness |
| Handling precautions | Prevent burns, provide ventilation, and restrict access to equipment | Avoid contact with uncured resin and follow proper washing and waste-disposal procedures |
For products intended for repeated handling and assembly, filament printing is often an easier starting point, but structural and material safety still need to be addressed.
Resin printing is useful for highly detailed models. However, ordinary resin should not be considered suitable for children to handle simply because it feels dry. Washing and post-curing must follow the material requirements, and final suitability depends on the material’s properties, intended use, and relevant testing.
Whichever process you choose, printers should not be kept running in children’s bedrooms or poorly ventilated activity spaces. An enclosure is not a substitute for appropriate ventilation and emissions control.
6. Choosing Materials: Look Beyond Color to Strength, Heat Resistance, and Chemical Safety
Color may attract attention first, but materials for children’s toys should be assessed around three more important questions: Will they break? Will they deform? Are they safe for the intended contact?
PLA: Easy to Print Does Not Mean Suitable for Every Use
Polylactic acid, or PLA, is a common beginner material because it is relatively easy to print. However, standard grades have limited heat resistance and may soften or deform in hot conditions. Some printed structures can also be brittle.
“Plant-based,” “bio-based,” and “biodegradable” do not mean safe to put in the mouth, nor do they mean the finished product automatically meets toy safety requirements.
PETG: Good Toughness, but the Specific Product Still Matters
Glycol-modified polyethylene terephthalate, or PETG, generally offers good toughness and layer adhesion, making it useful for some structures that need durability. However, stringing, burrs, and dimensional accuracy can still affect the user experience.
The material name alone does not establish food-contact safety or suitability for children.
TPU: Soft Does Not Mean Risk-Free
Thermoplastic polyurethane, or TPU, can be useful for cushioning structures and flexible components. But soft parts can still tear and produce small pieces that may be swallowed. Flexibility does not make a material suitable for chew toys or teethers.
Chemical Safety Depends on the Full Formulation and Finished Product
Materials with the same base polymer may have different safety profiles because of their colorants, additives, and manufacturing controls. Glues, paints, and coatings can also affect the risks of the finished product.
When sourcing materials, check:
- Whether the supplier provides traceable material information and relevant test documentation.
- Whether the documentation covers the actual grade, color, and batch being used.
- Whether the testing scope is relevant to the intended use and sales market.
- Whether the finished product still requires additional testing.
A raw-material test report does not replace compliance verification for the finished toy. Printed layer lines and crevices can also make cleaning harder, so ordinary printed parts are not appropriate for repeated mouthing, holding food, or chewing by babies and toddlers.
7. Essential Safety Requirements: Small Parts, Sharp Edges, and Pinch Points
Play value can be improved over time. Fundamental safety must be addressed from the start.
Small Parts: Check What Happens After Damage, Not Just Before Sale
Even a toy printed as a single piece may produce small parts after being dropped, pulled, or repeatedly bent. Decorative eyes, axles, clips, and small protrusions deserve particular attention.
For children under three, small parts and choking hazards require especially strict scrutiny. Size cannot be judged by eye alone, and a “parental supervision required” warning cannot make up for an unsuitable design.
Magnets and button batteries need particular caution: if they detach and are swallowed, they can cause severe injury. Without the necessary design and validation expertise, these components are best left out of children’s toys.
Sharp Points and Edges: Rounded Designs Are Only the Beginning
A smooth-looking design does not guarantee a safe finished product. Support remnants, separation between layers, and broken slender parts can create sharp edges or points.
Inspection should therefore cover both the intact product and reasonably foreseeable use and damage. Sanding until something “doesn’t feel sharp” is not a complete basis for a safety assessment.
Pinching and Entanglement: Moving Parts Need Extra Validation
Gears, hinges, sliding tracks, and spring clips can trap fingers. Designs should address accessible gaps, movement paths, and necessary guards rather than expecting children to avoid injury by being careful.
Cords, spring-loaded structures, and launching mechanisms also need separate assessment. A tabletop teaching demonstration model is not necessarily suitable as a toy for unrestricted play.
Age Grading and Compliance: More Than a Label
For children’s toys sold in China, check the current safety standards applicable to the product category, including the Toy Safety series, and determine whether China Compulsory Certification or other requirements apply. Products sold in other markets must be assessed against those markets’ requirements; compliance findings from China cannot simply be carried over.
Age grading, warnings, and instructions are important, but they cannot replace safe structures, material controls, and necessary testing.
Ultimately, the opportunity in 3D-printed children’s toys is not that “anything can be printed.” It is about using flexible manufacturing to meet specific needs, then managing risks through professional design and validation. Make personalization engaging, production consistent, and safety a priority, and small-batch ideas have a chance to become truly sustainable products.