
 EN
Blog
Why 3D Printed Parts Keep Getting More Expensive — Six Cost Levers You Can Pull This Week
A printed jig that costs more in-house than outsourced is rarely a material problem. Machine time, labour and rework usually outweigh the filament. This guide breaks down where per-part cost really comes from and six practical actions — nesting, support design, infill and layer height, material grading, qualified substitution and first-article control — that need no new equipment.
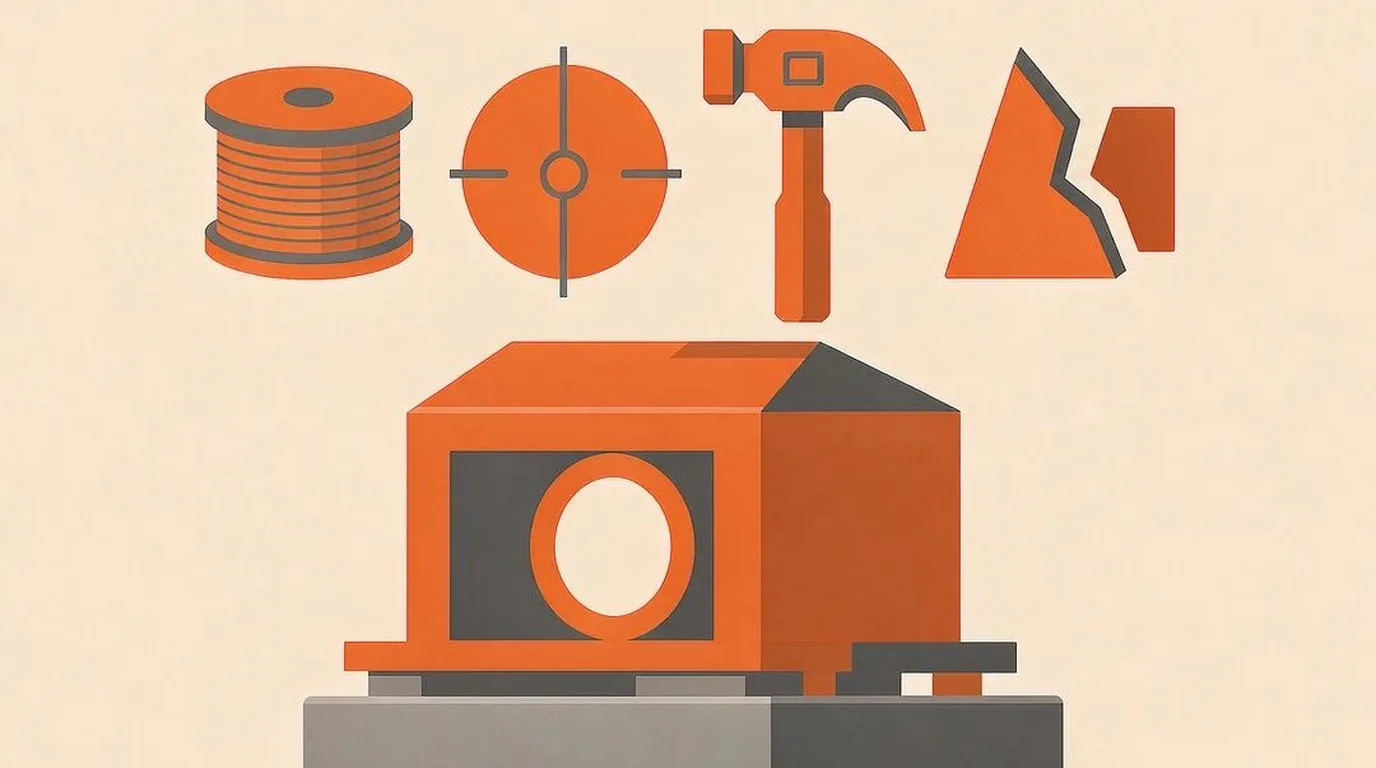
Where the money actually goes
A manufacturer of inspection equipment recently walked us through their print shop with a complaint: the same jig cost about 60 % more to print in-house than an outside quote. The cause was neither the printer nor the material.
Every jig was printed one at a time, two thirds of the build volume sat empty, a single job ran twelve hours, supports were left at the slicer defaults, and a 0.3 mm hole offset scrapped the finished part. Material and machine time went straight into the bin.
The money was not spent on material. It leaked out through the process.
The shares and time figures below are illustrative estimates for common workshop conditions. Machine, material and labour rates vary widely, so use your own quotes for any decision.
| Cost item | Typical share (estimate) | Main lever | Payback |
|---|---|---|---|
| Material | 20–35 % | Material selection, support and infill | Medium |
| Machine time | 30–45 % | Nesting, layer height, speed | Fast |
| Labour and post-processing | 15–25 % | Support design, standardised removal | Medium |
| Failed prints and rework | 5–20 % | First-article check, process cards, maintenance | Fast |
Machine time is the depreciation, power, wear parts and operator attention charged to the hours a printer is occupied. The more expensive the machine and the lower its utilisation, the more each part has to carry.
The counter-intuitive line is this: machine time plus rework often exceeds the material bill. The first cut should not be the price per kilogram.
Action 1 — Fill the build volume
This is the simplest of the six and the most often skipped, because it needs no design change and no new material — just one change to how jobs are scheduled.
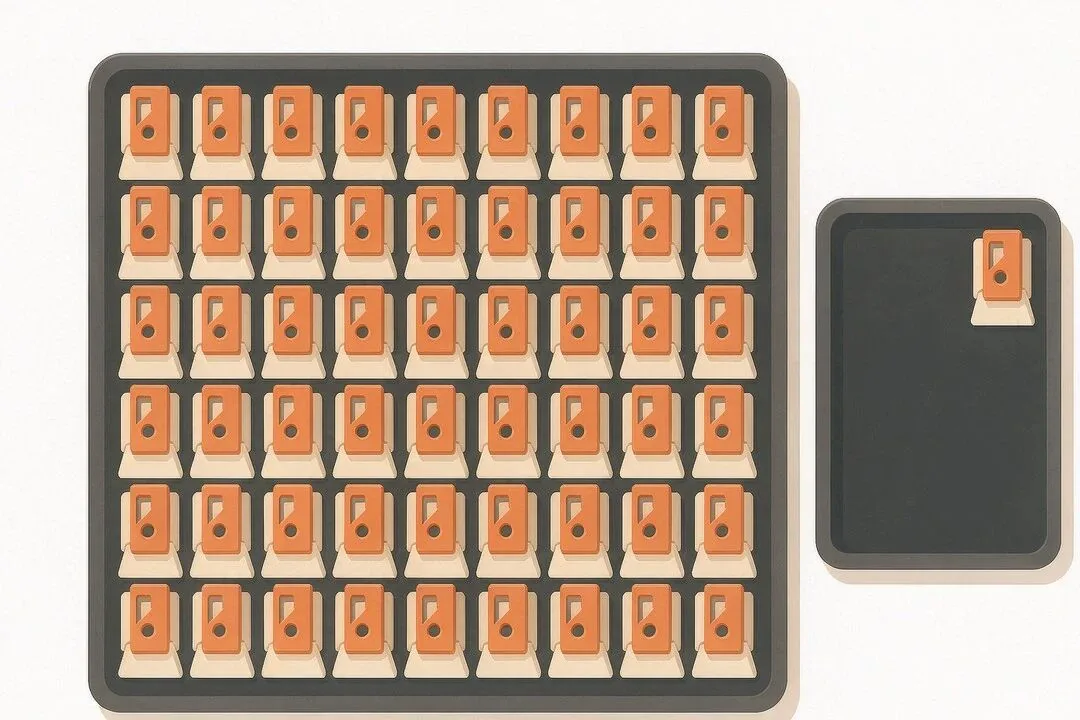
One small jig occupied an entire platform for twelve hours. Laid out properly, the same area holds six to eight parts.
Three practical steps:
- Batch the schedule — collect a week of jobs in the same material, then run one full plate instead of starting a build per request.
- Use the height — a build chamber is volume, not area. Stack low parts or stagger them so the Z axis earns its keep.
- Keep like with like — group parts that share material and layer height to avoid purging and changeover waste.
A rough way to see the leverage: on a five-year depreciation, cutting a build from 12 hours to 5 removes about 58 % of that job's machine-time cost. Saving a few kilograms of filament cannot match that.
Saving material is addition. Saving machine time is multiplication.
Actions 2 and 3 — Design the supports, then tune infill and layer height
Slicer defaults are tuned to make a print succeed, not to make it cheap.
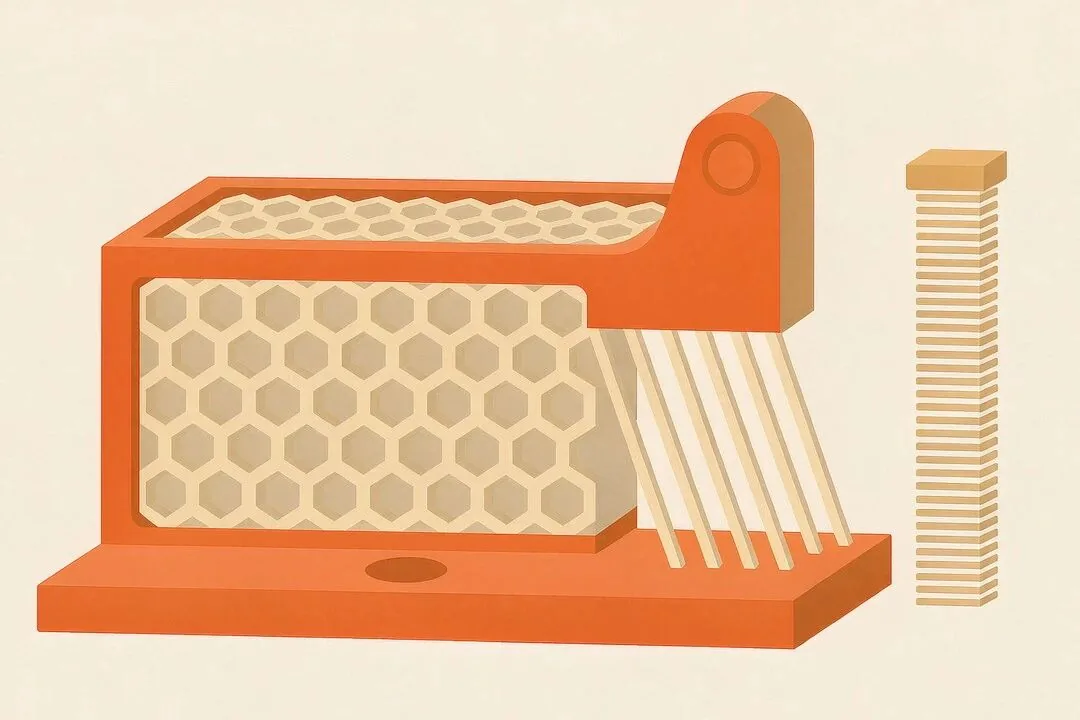
Action 2: treat support as a cost line. Support material costs money, and the labour to remove it costs more — on many parts, half the manual time goes into support removal.
Three things that work in practice:
- Reorient first — put the largest flat face down and keep overhangs inside the self-supporting angle; one rotation often removes most of the support.
- Do not max out support density — away from the interface the support body can be much sparser, as long as it does not collapse.
- Reserve soluble or easy-release support for surfaces that really need a fine finish; everywhere else, same-material support is cheaper.
Action 3: infill and layer height move together.
Higher infill is not automatically stronger. For most non-load-bearing parts 20–30 % is enough, and loaded parts usually gain more from thicker walls than from more infill, because stiffness comes mainly from the outer walls, which are far cheaper than filling the interior.
The same applies to layer height: moving from 0.1 mm to 0.2 mm typically cuts print time by 30–40 % (illustrative, geometry dependent). Strength drops, but for jigs, housings and covers it is usually still ample.
One simple test: does this part fail by breaking, by wearing, or does it simply need to fit? If it only has to fit, both infill and layer height can be relaxed.
Actions 4 and 5 — Grade materials and qualify alternatives
Action 4: stop using one material for everything. Keeping a single grade on the shelf looks convenient, but it removes flexibility and adds cost. Sort work into three tiers:
| Tier | Typical use | Material approach |
|---|---|---|
| A | Load-bearing, abrasive or hot conditions | High-performance engineering grades — do not economise here |
| B | General functional parts, jigs and fixtures | General-purpose engineering grades cover most cases |
| C | Appearance models, prototypes, fit checks | Basic grades; reclaimed material where appropriate |
Action 5: alternative materials are worth testing, but only behind a validation gate. Lower-cost grades have improved substantially in recent years; a lower quote on its own is not evidence.
- Print standard tensile coupons and compare strength.
- Print a real part and run an assembly trial.
- Record batch-to-batch consistency — shrinkage drift between lots is a common cause of assembly failure.
Roll out in the right order: try C-tier parts first, then move to B, and stay cautious with A. Reversing that sequence can wipe out a year of material savings with one line stoppage.
Action 6 — Close the rework leak
The first five actions save money. This one stops it draining away.
A print runs anywhere from two hours to two days. A mid-build failure or a wrong dimension costs material, machine time and the delivery date — and urgent jobs cost most of all. Control comes from process, not luck:
- First-article check — measure the critical dimensions on the first part before filling a plate with twenty.
- Keep parameter records — file material, layer height, temperatures and speeds by part number and reuse them.
- Schedule maintenance — worn nozzles, an uneven bed and levelling drift cause most failures; servicing before a fault is cheaper than one scrapped part.
- Price the real cost of rework — add up material, machine hours and labour for a problem family; a design change or a material change often pays back within a quarter.
If scrap is higher than expected, do not blame the printer first. Read the last three months of scrap records and separate parameter problems, model problems and operator problems. In most workshops the losses concentrate in two or three controllable steps.
Where to start
Ordered by how quickly they pay back: nesting and batch scheduling (within a week) → supports, infill and layer height (two weeks) → rework control (one month) → material grading and substitution (one quarter).
None of them needs new capital or a machine upgrade. In many workshops, margin is not taken by competitors; it leaks away through default parameters and the habit of printing one part at a time.
Pull those levers and the same machine suddenly has more capacity. That is the point where the equipment actually starts paying for itself.
Source: an industry article published on a WeChat official account on 6 November 2026; translated and adapted for this site. All figures are illustrative estimates.